開発チュートリアル(1-1)で真っ白画面ができましたので、何かテキスト表示してみましょう。
引き続き、Pebble Developerサイトのチュートリアルに従って進めていきます。
Showing Some Text
テキスト表示にはTexlLayerを使います。
static TextLayer *s_time_layer;
TexlLayerは、中に表示する文字列と、色/配置/フォントサイズが指定できます。
static void main_window_load(Window *window) {
  // Create time TextLayer
  s_time_layer = text_layer_create(GRect(0, 55, 144, 50));
  text_layer_set_background_color(s_time_layer, GColorClear);
  text_layer_set_text_color(s_time_layer, GColorBlack);
  text_layer_set_text(s_time_layer, "00:00");

  // Improve the layout to be more like a watchface
  text_layer_set_font(s_time_layer, fonts_get_system_font(FONT_KEY_BITHAM_42_BOLD));
  text_layer_set_text_alignment(s_time_layer, GTextAlignmentCenter);

  // Add it as a child layer to the Window's root layer
  layer_add_child(window_get_root_layer(window), text_layer_get_layer(s_time_layer));
}
main_window_loadに処理を追加。位置とサイズ(0, 55, 144, 50)、背景色GColorClear(透明)、文字色GColorBlack(黒)、表示文字列”00:00″、フォント「FONT_KEY_BITHAM_42_BOLD」、配置「GTextAlignmentCenter」(中央)で指定します。そして「layer_add_child」でWindowに追加します。
static void main_window_unload(Window *window) {
    // Destroy TextLayer
    text_layer_destroy(s_time_layer);
}
Windowアンロード時 main_window_unload で、削除処理をします。
ここまででいったん実行。
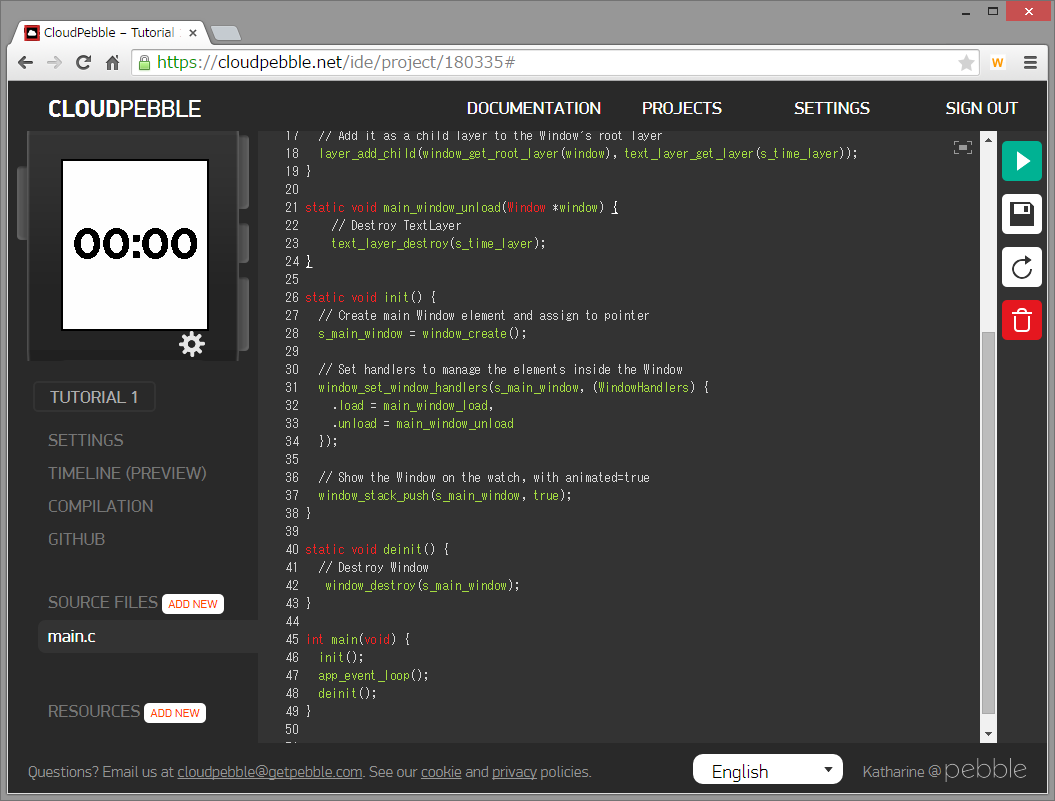
時計っぽくなりました!
…動かない時計は時計じゃないですね!
Telling the Time
一定時間で、表示を更新する必要があります。こういうときには「TickTimerService」を使うとのこと。
これは、日付や時刻が変わった時に、自動的に処理を呼び出してくれるしかけです。時計の処理にはピッタリです。呼び出し単位は「年」「月」「日」「時」「分」「秒」で設定できます。呼び出しタイミングが多くなると、その分、電池も食いますので、必要最小限になるようにしましょう。とはいえ「秒」まで表示したいなら「秒」呼び出しをせざるを得ないですけれど。実物が届いたら、電池持ちの差を見てみたいですね。
最初に、実行される側の処理を作ります。
static void tick_handler(struct tm *tick_time, TimeUnits units_changed) {
}
struct tm には、現在の時刻が入ってます。TimeUnitsは、どの間隔での呼び出しなのか(1時間間隔?それとも1秒間隔?)が入っています。
// Register with TickTimerService
tick_timer_service_subscribe(MINUTE_UNIT, tick_handler);
「tick_timer_service_subscribe」で、「MINUTE_UNIT(1分間隔)」で、上の処理「tick_handler」を呼び出すように登録します。この処理を、init()の最後に付けます。
表示を更新する処理を作ります。strf関数のフォーマット指定はこちら。
static void update_time() {
  // Get a tm structure
  time_t temp = time(NULL);
  struct tm *tick_time = localtime(&temp);

  // Create a long-lived buffer
  static char buffer[] = "00:00";

  // Write the current hours and minutes into the buffer
  if(clock_is_24h_style() == true) {
    // Use 24 hour format
    strftime(buffer, sizeof("00:00"), "%H:%M", tick_time);
  } else {
    // Use 12 hour format
    strftime(buffer, sizeof("00:00"), "%I:%M", tick_time);
  }

  // Display this time on the TextLayer
  text_layer_set_text(s_time_layer, buffer);
}
「時:分」に成形した文字列を「text_layer_set_text」で「s_time_layer」にセットします。ここでセットするバッファは画面表示中は保持しないといけないので static にしておく必要があります。
static void tick_handler(struct tm *tick_time, TimeUnits units_changed) {
  update_time();
}
「update_time」を、先ほどの「tick_handler」から呼び出すよう指定。最後に、起動すぐに更新されるように「main_window_load()」の最後で「update_time()」を呼ぶように追加。
// Make sure the time is displayed from the start
update_time();
これで実行すると…
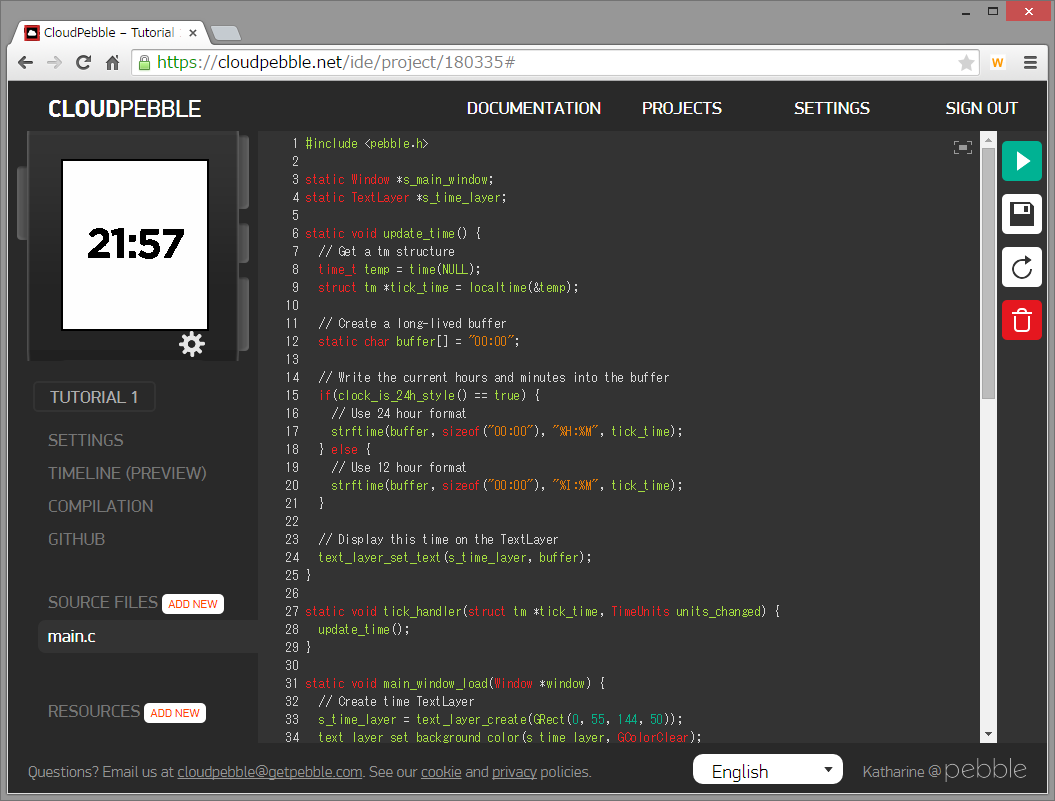
時計になったー!
Conclusion
ここまでのまとめ。
1.新しいPebble project を作る。
2.アプリの基本設定をする。
3.メインWindowを作る。
4.時刻を表示するTextLayerを作る。
5.時刻を更新するためにTickTimerServiceに登録して、TextLayerの表示用バッファを更新する。
この次はカスタムフォントとビットマップイメージのチュートリアルです。