Lesson 22 LCD Display
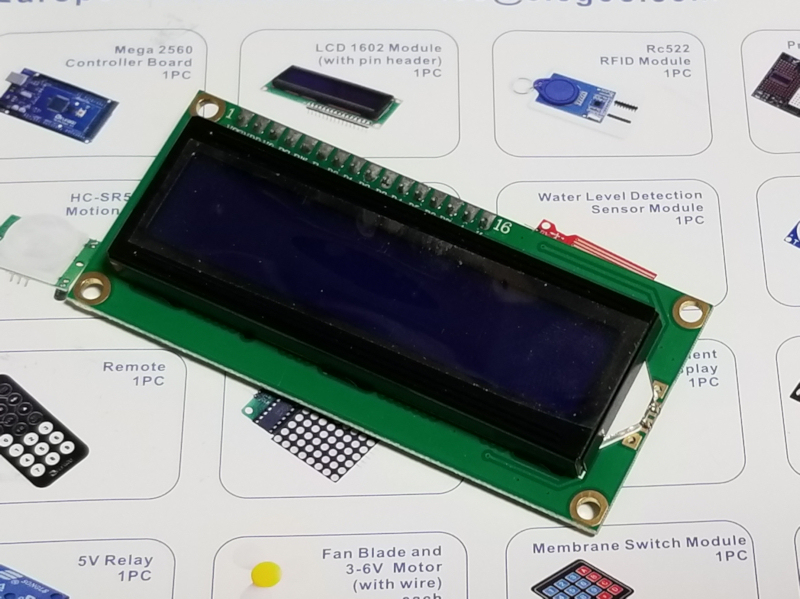
LCD 1602。16文字 x 2行表示なので1602って型番です。パーツ正式な型番は「1602A」ですね。
画像で表示するのではなくて、内部に文字のフォントを持っていて、それを表示するタイプです。なので、自由な描画はできないです。こちらがくわしいです。
基礎からの IoT 入門:Arduino を用いて LCD に文字を表示
https://iot.keicode.com/arduino/arduino-project-lcd.php
端子いっぱいあります。
VSS / VDD / VO / RS / RW / E / D0~D7 / A / K

なので、接続のケーブルもいっぱい。
D0~D3は使わないです。電源は5V。電源とGND、数か所で繋ぐ必要あるんですね。
ライブラリは、LiquidCrystal Libraryを使用。
LiquidCrystal Library
https://www.arduino.cc/en/Reference/LiquidCrystal
ライブラリを使えば、文字表示処理は簡単です。
// include the library code:
#include <LiquidCrystal.h>
// initialize the library with the numbers of the interface pins
LiquidCrystal lcd(7, 8, 9, 10, 11, 12);
void setup() {
  // set up the LCD's number of columns and rows:
  lcd.begin(16, 2);
  // Print a message to the LCD.
  lcd.print("Hello, World!");
}
void loop() {
  // set the cursor to column 0, line 1
  // (note: line 1 is the second row, since counting begins with 0):
  lcd.setCursor(0, 1);
  // print the number of seconds since reset:
  lcd.print(millis() / 1000);
}
初期化は LiquidCrystal(rs, enable, d4, d5, d6, d7) です。
LiquidCrystal lcd(7, 8, 9, 10, 11, 12);
インスタンス生成。
lcd.begin(16, 2);
縦横サイズ指定
lcd.print("Hello, World!");
文字列表示。
lcd.setCursor(0, 1);
これで表示位置を指定。
lcd.print(millis() / 1000);
上で指定した位置に、起動からの秒数を表示。
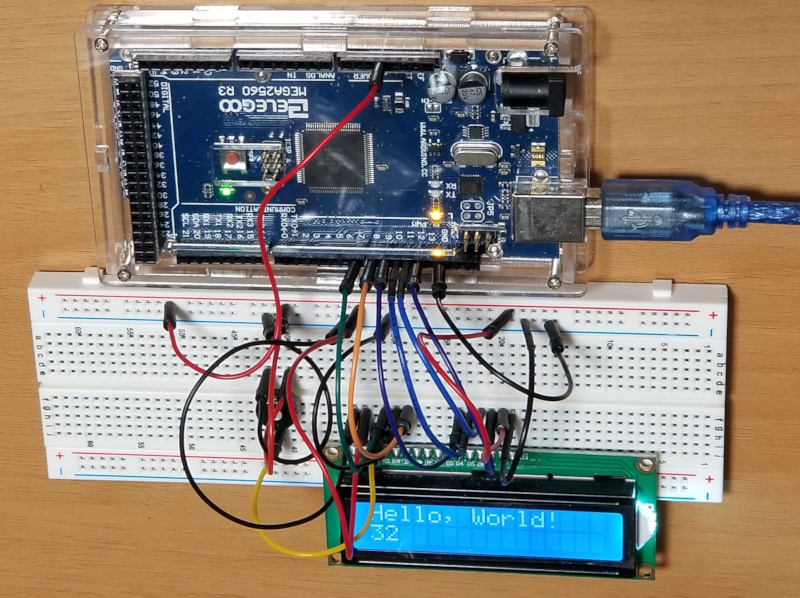
Hello~!
可変抵抗器で、画面のコントラスト調整ができます。最初何も表示されなくて、回路間違えたのかとビックリしましたが、調整すると表示されるようになりました。
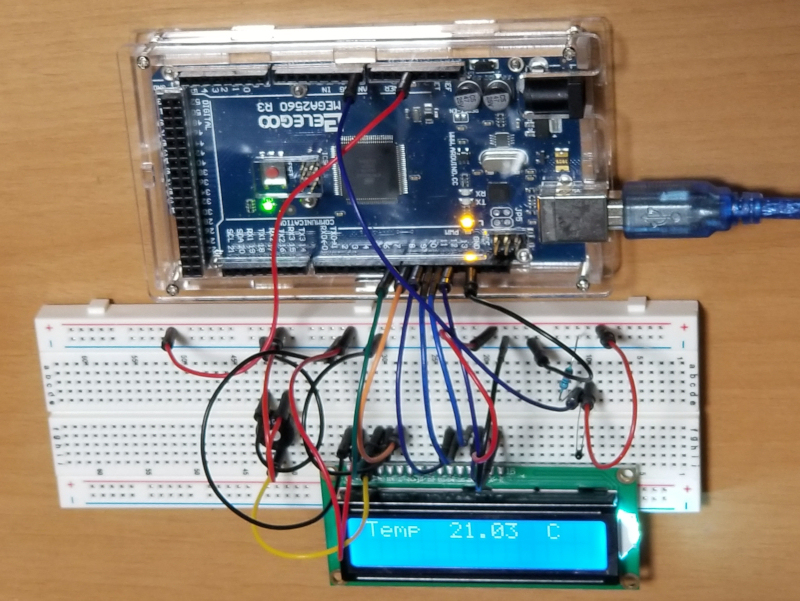
Lesson 23 Thermometer
LCD表示回路に、サーミスタを追加して、温度を表示します。

サーミスタは、温度によって抵抗値が変化する抵抗器です。
普通の抵抗器も、温度によってあるていど抵抗値が変化するのですが、計測できないぐらいのわずかな値。
サーミスタは、その値がとても大きい部品です。(1℃に付き100Ωぐらい変化する)
サーミスタには、温度が高いと抵抗値が小さくなるNTC (negative temperature coefficient)と、逆に温度が高いと抵抗値が大きくなるPTC (positive temperature coefficient)があるとのこと。
温度を測るときは、通常はNTCを使います。
PTCは、リセット可能なヒューズに使われています。(高温になると抵抗が大きくなって通電されなくなる。冷えると戻る。)
回路は Lesson 22にサーミスタを追加したもの。

全体のスケッチはこんな。
#include <LiquidCrystal.h>
int tempPin = 0;
// BS E D4 D5 D6 D7
LiquidCrystal lcd(7, 8, 9, 10, 11, 12);
void setup()
{
  lcd.begin(16, 2);
}
void loop()
{
  int tempReading = analogRead(tempPin);
  // This is OK
  double tempK = log(10000.0 * ((1024.0 / tempReading - 1)));
  tempK = 1 / (0.001129148 + (0.000234125 + (0.0000000876741 * tempK * tempK )) * tempK ); // Temp Kelvin
  float tempC = tempK - 273.15; // Convert Kelvin to Celcius
  float tempF = (tempC * 9.0)/ 5.0 + 32.0; // Convert Celcius to Fahrenheit
  /* replaced
  float tempVolts = tempReading * 5.0 / 1024.0;
  float tempC = (tempVolts - 0.5) * 10.0;
  float tempF = tempC * 9.0 / 5.0 + 32.0;
  */
  // Display Temperature in C
  lcd.setCursor(0, 0);
  lcd.print("Temp C ");
  // Display Temperature in F
  //lcd.print("Temp F ");
  lcd.setCursor(6, 0);
  // Display Temperature in C
  lcd.print(tempC);
  // Display Temperature in F
  //lcd.print(tempF);
  delay(500);
}
温度ピンはアナログ0番。(A0って書いてもどっちでもいい)
int tempPin = 0;
// BS E D4 D5 D6 D7
LiquidCrystal lcd(7, 8, 9, 10, 11, 12);
LiquidCrystal の定義では、コメントでピンの順番書いておくと分かりやすいですよ、とのこと。(Lesson 22 の時はそこまで気が回らなかったのだな…)
温度計測のロジックはこちら。
int tempReading = analogRead(tempPin);
// This is OK
double tempK = log(10000.0 * ((1024.0 / tempReading - 1)));
tempK = 1 / (0.001129148 + (0.000234125 + (0.0000000876741 * tempK * tempK )) * tempK ); // Temp Kelvin
float tempC = tempK - 273.15; // Convert Kelvin to Celcius
float tempF = (tempC * 9.0)/ 5.0 + 32.0; // Convert Celcius to Fahrenheit
係数いろいろ使って計算です。セ氏、カ氏、必要なものに変換。あとは、位置指定して表示しているだけです。
文字表示だけで、グラフィック表示ができないので、いろいろ遊ぶには物足りないとこですね。